Intro to Connecting Products
Summary
1. Overview
Connecting your catalog with Zakeke is crucial to provide your customers with a comprehensive customization experience and unlock the full potential of our customization features. Zakeke allows you to turn any product on your online store into a customizable product. In practice, the product continues to exist in your ecommerce catalog, but you need to connect and visualize that product within Zakeke to make it customizable.
This step is crucial to allow the end customer to access a dedicated UI for product customization before making a purchase and to enable Zakeke to generate production files once the customization process is complete and the customized product is purchased. Additionally, if the product exists within Zakeke, it means that customization rules can be associated with that product, leveraging the hundreds of features that Zakeke provides.
2. What is a Customizable Product?
A customizable product within the ecommerce store is an item that offers customers the opportunity to personalize it through an interactive user interface, facilitated by Zakeke. This distinctive customization process usually follows a unique flow, starting from the product page, where customers encounter a "customize" button instead of the conventional "add to cart" option found in standard purchases.
Upon clicking the customize button, the Zakeke UI gets launched and customers can engage in a personalized design experience, adding their unique elements, adjusting attributes, or even creating on-demand variations, depending on the personalization capabilities you wish to offer them (and, thus, the Zakeke solution you’re using: Visual Product Customizer or 3D Product Configurator). Once satisfied with the customization, customers seamlessly transition to "Add to Cart" and proceed through the familiar Cart and Checkout steps, completing the purchase of their uniquely personalized product.
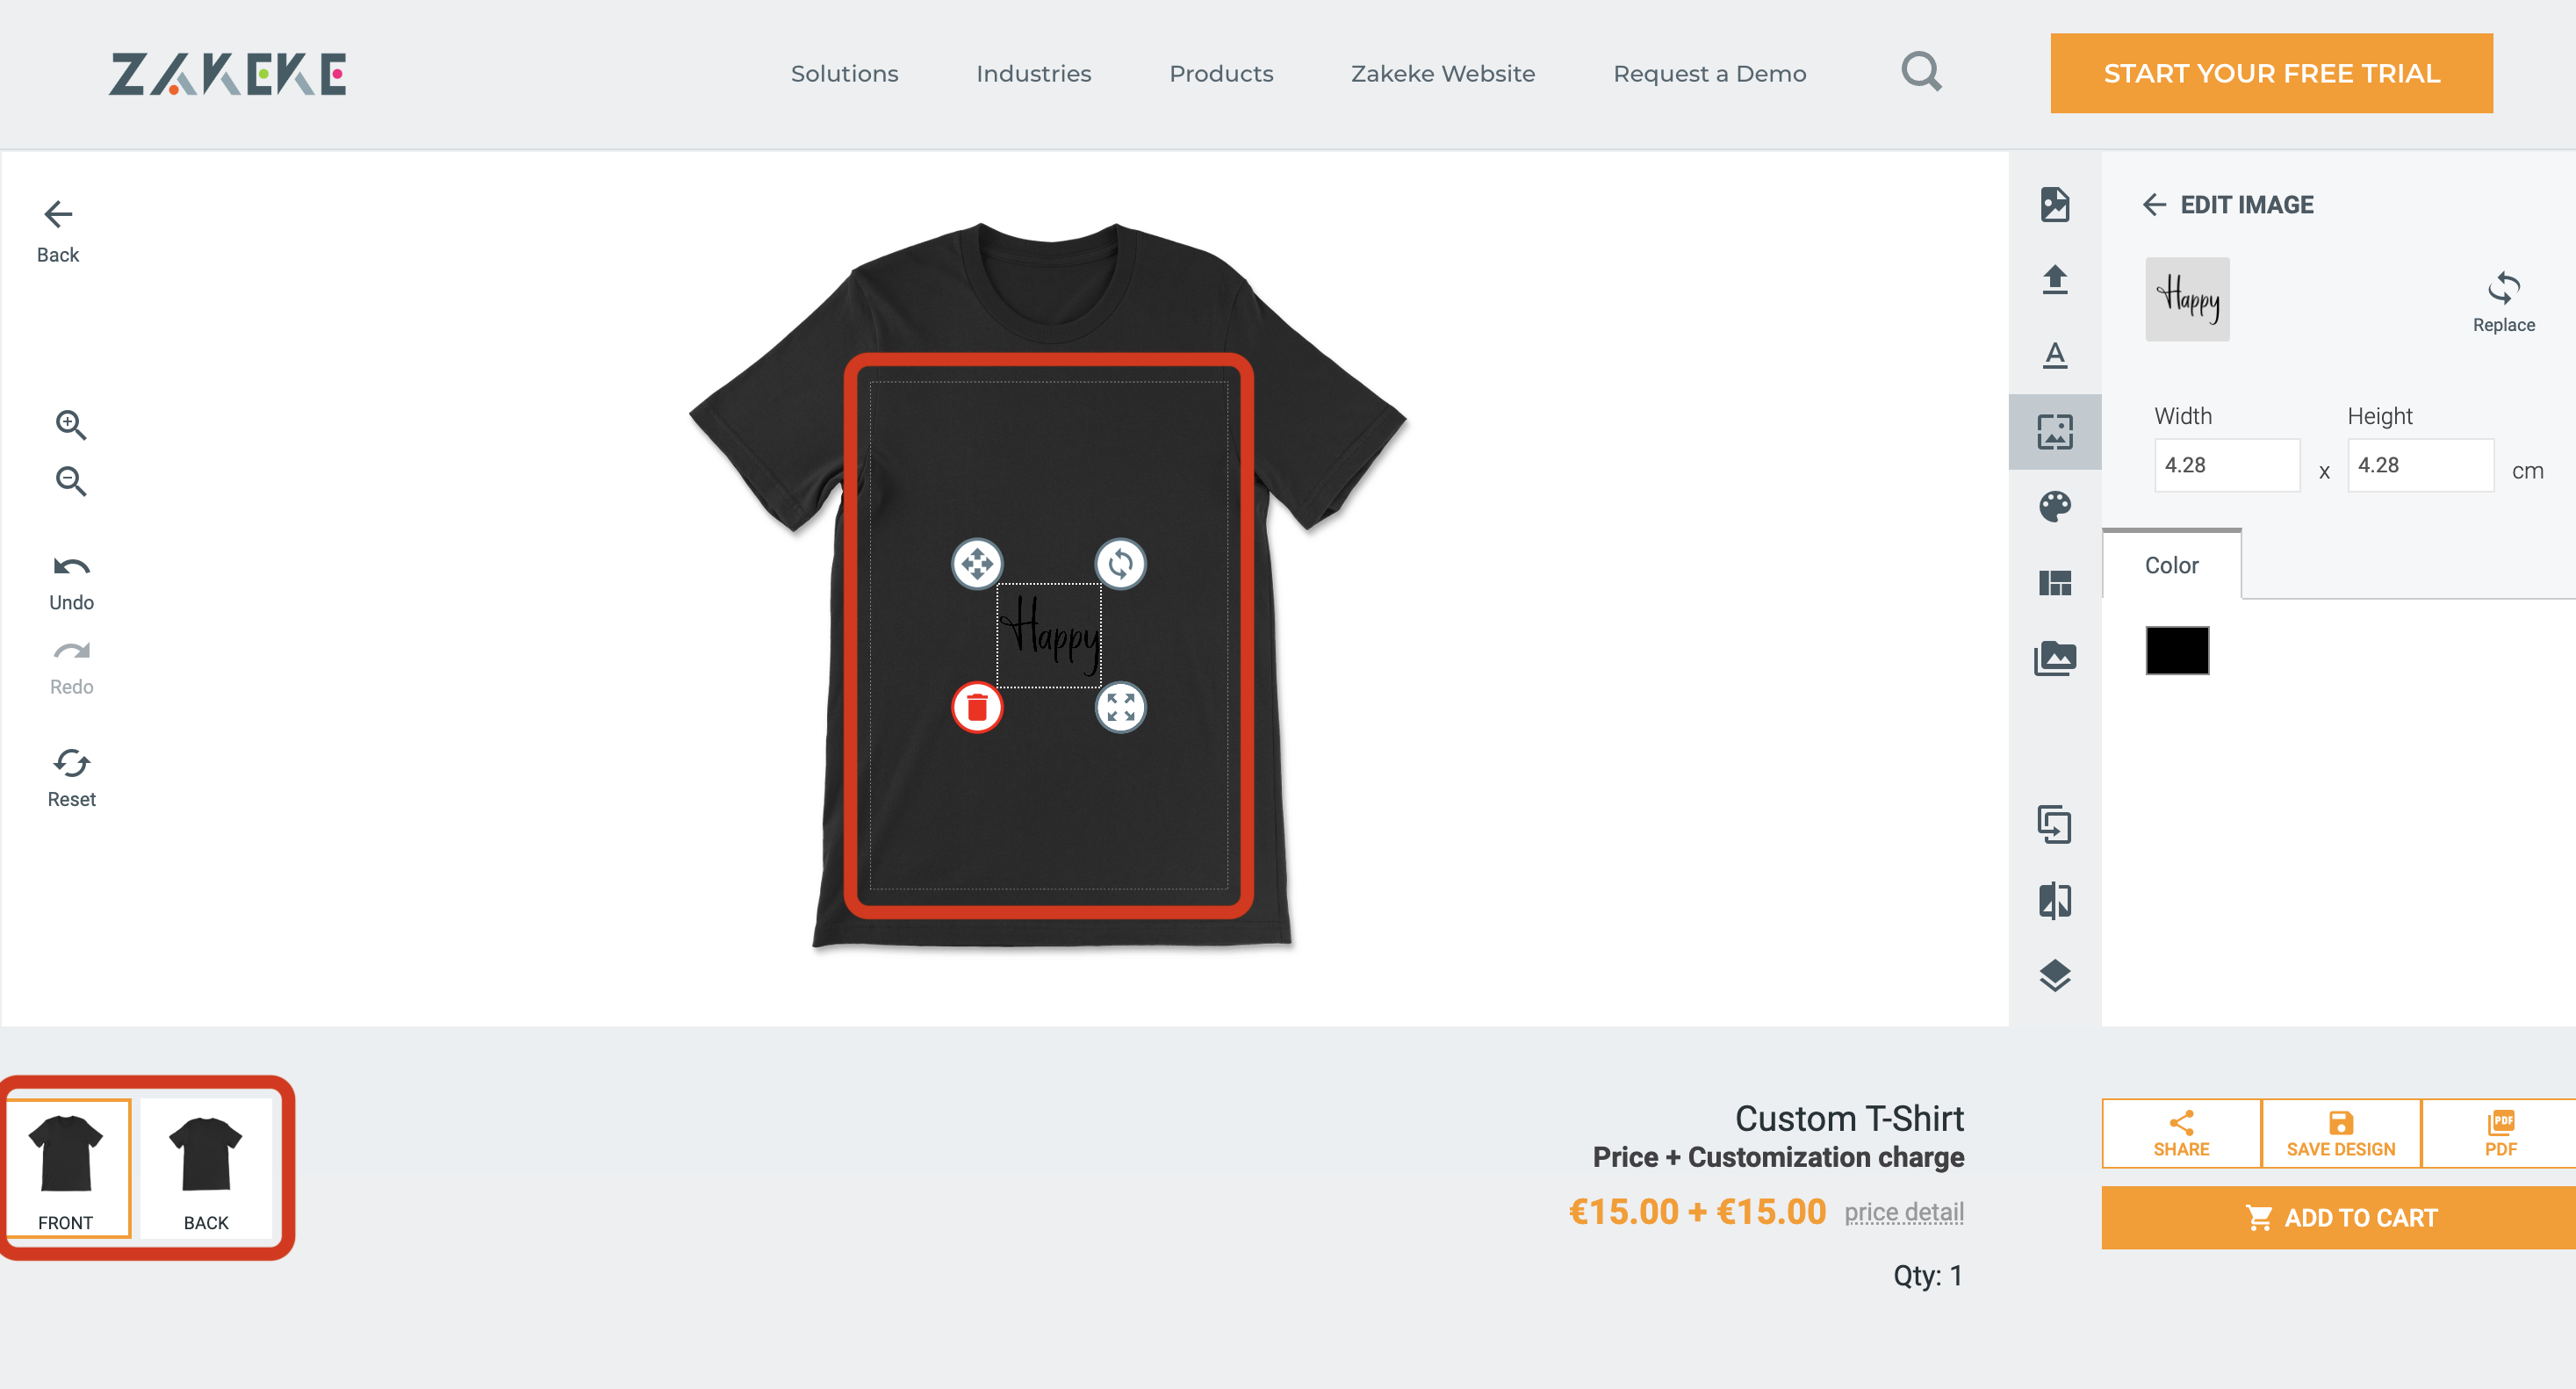
In particular, the customizable product for the Visual Product Customizer follows this structured composition: product > side(s) > print area(s).
It means that for each product you can offer one or multiple customizable sides (think about front and back of a T-shirt) and one or multiple print areas on each side.
If you have product variations, the hierarchy is valid for each product variation that you wish to make customizable and will therefore become: product > variation(s) > side(s) > print area(s).
You'll get a print-ready file for each print area customized by your customer.
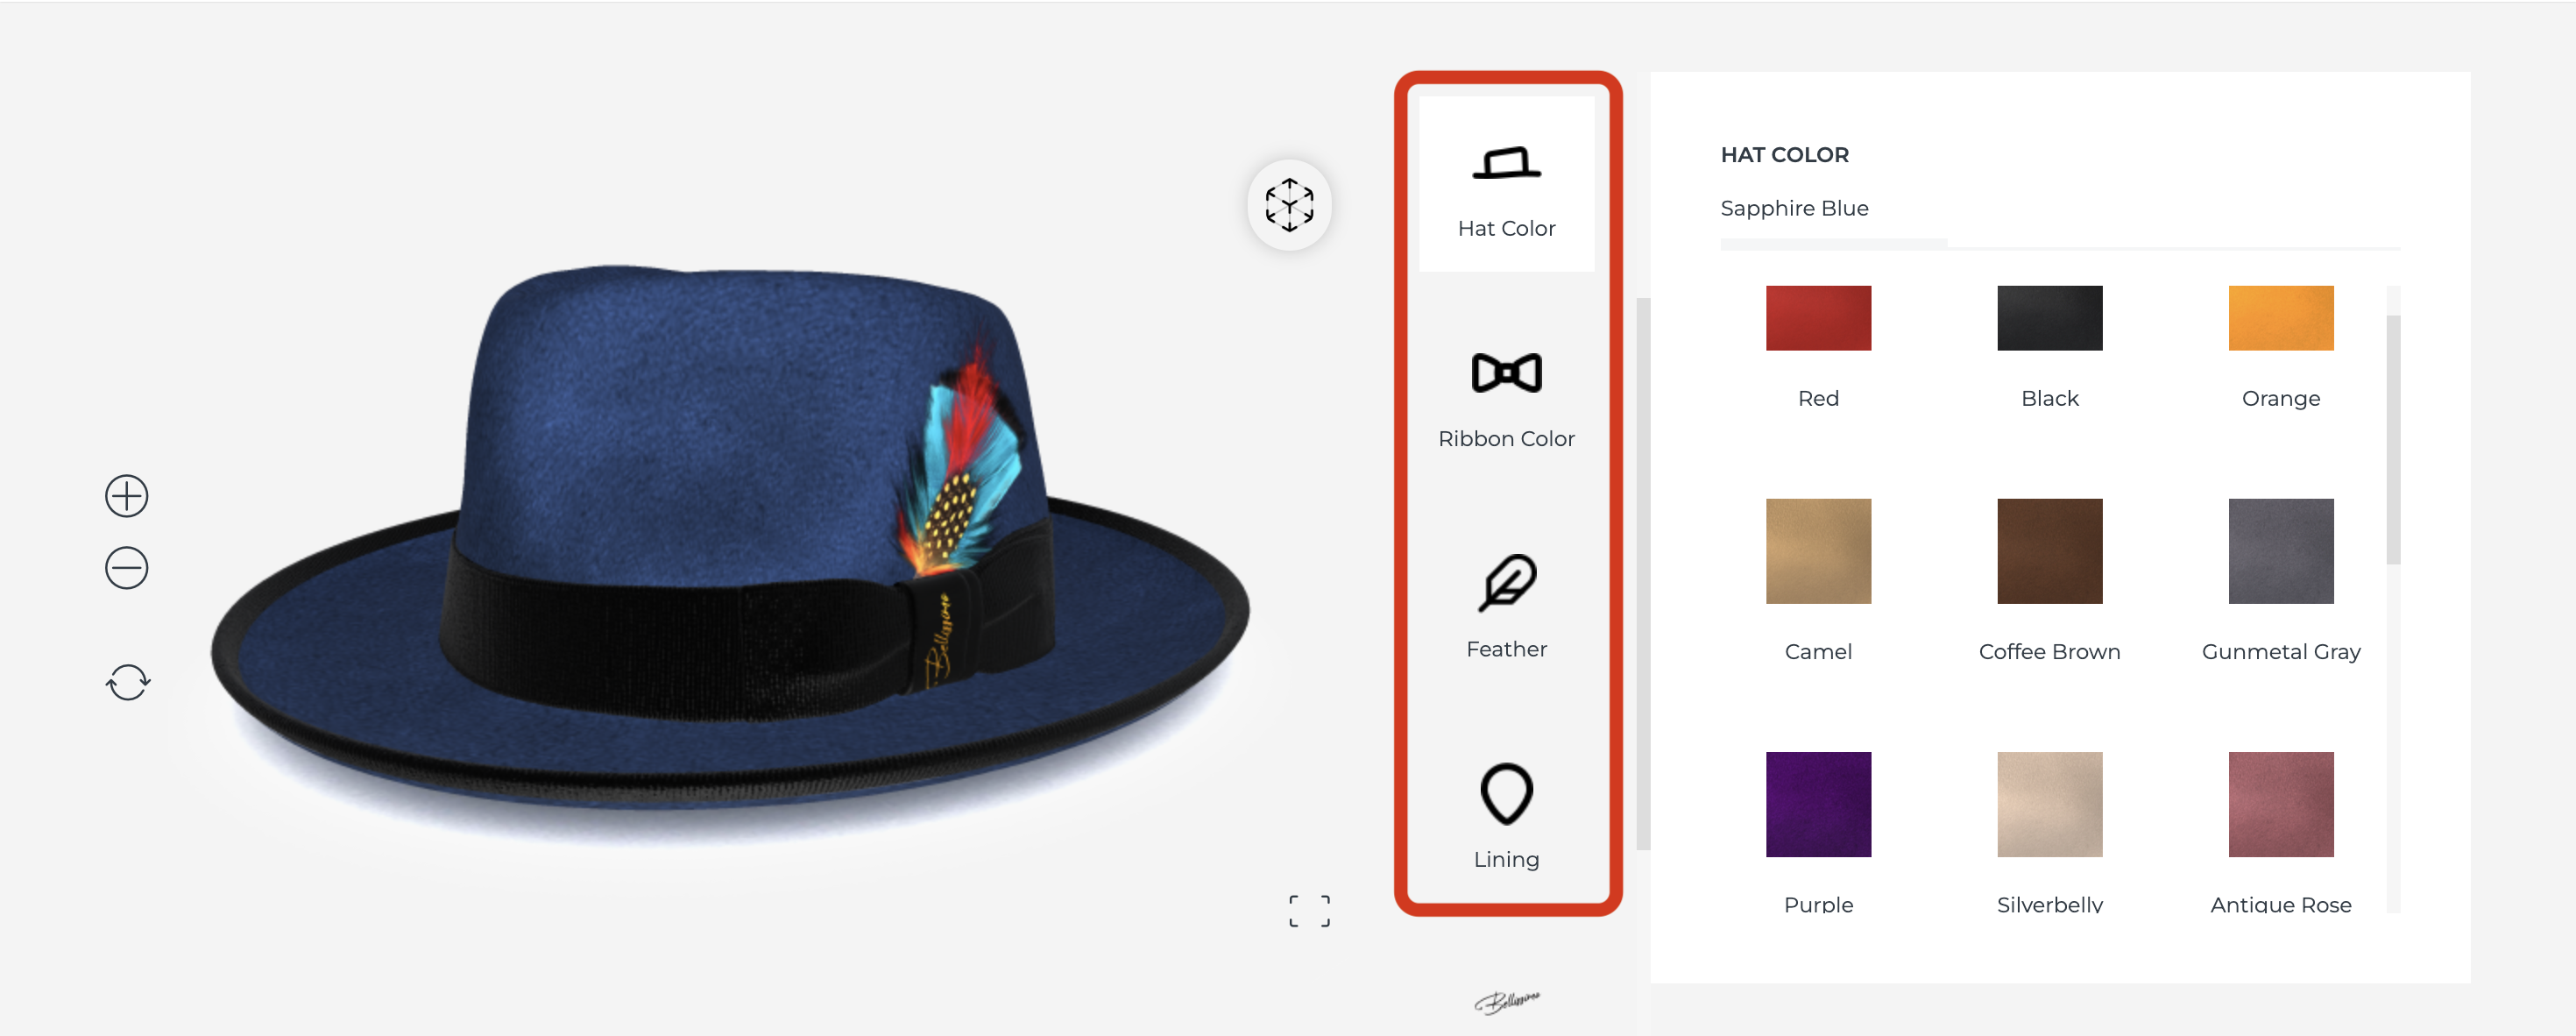
In the realm of the 3D Product Configurator, each customizable product is made of Attributes > Options. Attributes represent the customizable elements of the product that customers can personalize, while Options signify the diverse choices available for each attribute. These options can span a range of features, such as colors, materials, or components.
For example, consider a hat product offering customization for material, ribbon color, and the inclusion of a feather. In this scenario, the attributes are the distinct elements customers can modify, including hat material, ribbon color, and the decision to add a feather. Meanwhile, the options under each attribute encompass the various choices for colors, materials, or the presence of components. This dynamic interplay of attributes and options in the 3D Product Configurator allows customers to tailor each product precisely to their preferences.
3. How to Connect Products
To effortlessly connect your product catalog with Zakeke, leverage the power of our Product Catalog API. This API essentially enables Zakeke to retrieve the catalog's list of products along with their respective variants or options from your commerce platform. Once you've implemented the API, the next step is a breeze.
Access your product catalog in the Zakeke back-office, where you can conveniently select the specific products you wish to transform into customizable options. Our user-friendly no-code wizard in the back-office guides you through the process, making it easy to enhance your product offerings with personalized options for your customers.
CSV Method
There is a secondary and alternative method for importing and setting up products in Zakeke — the CSV method. This option is not recommended unless specific cases, which will be explained later.
It's important to note that the CSV method is applicable specifically to the Visual Product Customizer and not to the 3D Product Configurator. The advantage of using CSV lies in its capability to handle both product setup and connect. Unlike the API method, with CSV, you can configure multiple products at once without the need to create each product individually within Zakeke.
However, it's essential to be aware that the CSV creation process involves several steps, and it may not be as straightforward as using the Product Catalog API. For instance, creating PNG masks for areas may be required, but this step becomes unnecessary when utilizing the Zakeke back-office.
While the CSV method is available for specific scenarios, we strongly recommend and encourage the use of the Product Catalog API for a more seamless and efficient integration process. The API simplifies the connect process, providing a more user-friendly and comprehensive solution.